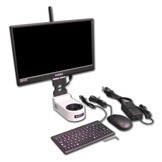
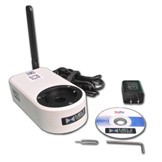
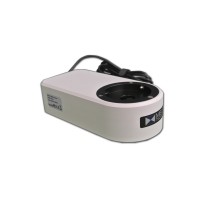
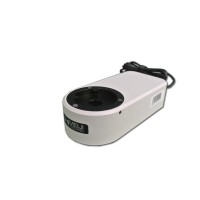
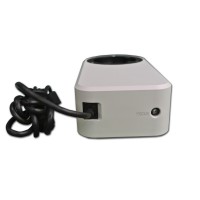
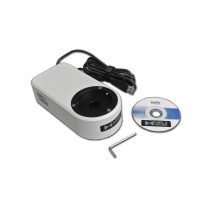
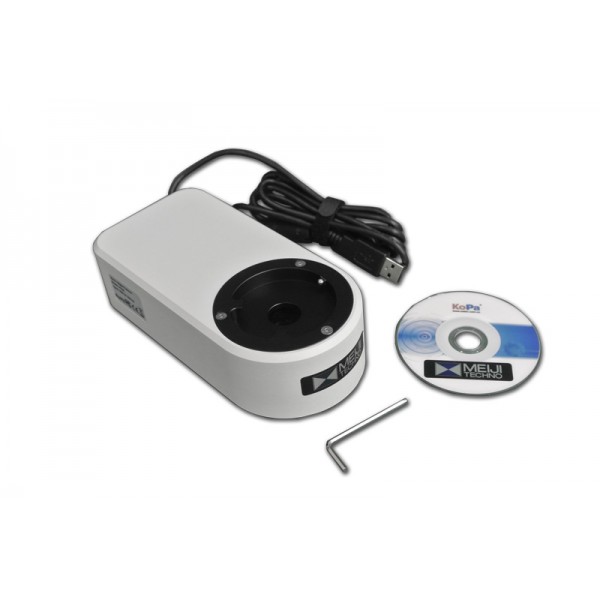
HD-MTU4K Includes:
- HD-MTU4K camera
- Hexagon key
- Installation Disk (KoPa)
| Physical Pixel | 8.0MP |
| Sensor Model | Sony IMX334 CMOS |
| Exposure Mode | Roller shutter exposure |
| Highest resolution | 3480x2160 (8,294,400) |
| Sensor Size | 1/1.8" |
| Pixel Size | 2.0μm×2.0μm |
| Dynamic Range | 72dB |
| SNR | ≥56dB |
| Spectral response | 380-650nm |
| Exposure | 3.9ms - 320ms, Automatic and manual |
| White balance | Real-time auto, single auto, manual adjustment |
| Preview resolution |
USB mode: |
| Record format |
Snapshot Format: JPG, BMP, PNG, TIFF, PDF |
|
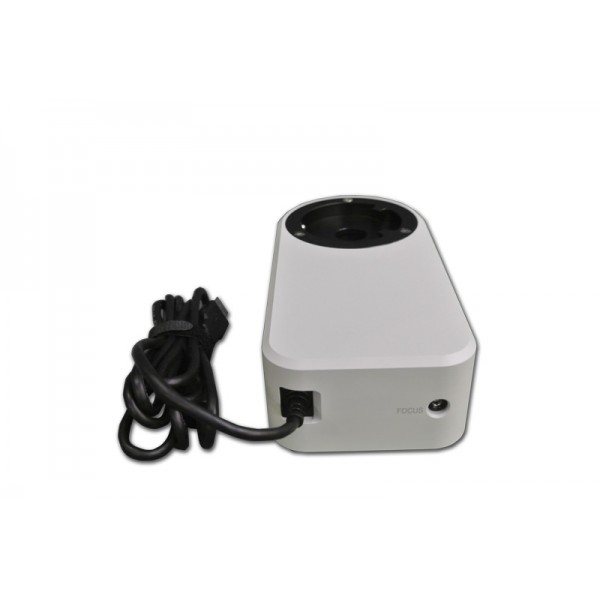
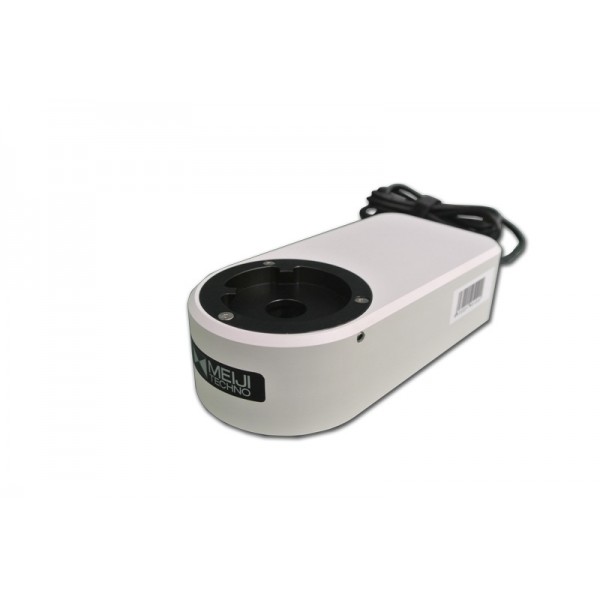
Product size (L×D×H mm) |
180×100×50 |
|
PC software |
KoPa Capture |
|
Box size (L×D×H mm) |
250×155×90 |
|
Net weight/unit(g) |
978 |
System Requirements under USB Work Mode
• Windows 7 (64 bits), Windows 8 (64 bits), Windows 8.1 (64 bits), Windows 10 (64 bits)
• Dual core 3 GHz or higher CPU
• USB 2.0 high-speed interface or USB2.0 compatible interface
• At least 10 GB available hard-disk space
• 8G or more memory
• DVD-ROM driver (only needed when installing software)
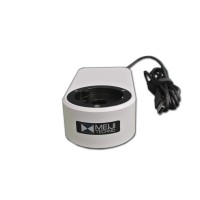
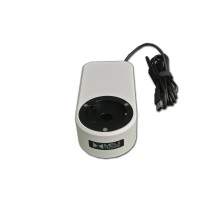
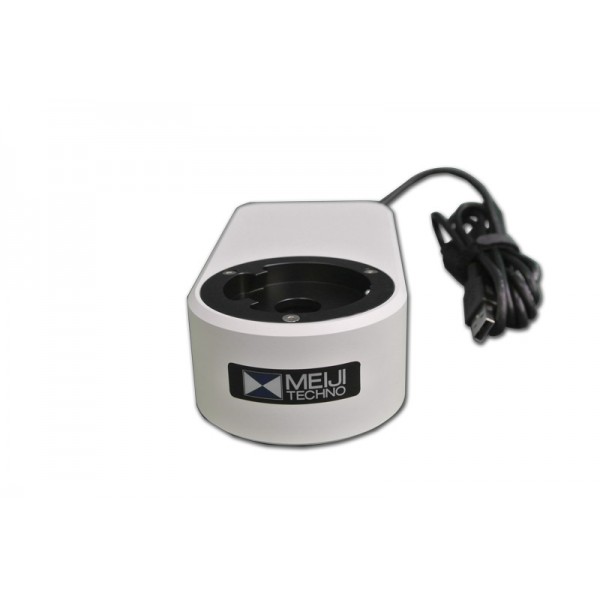
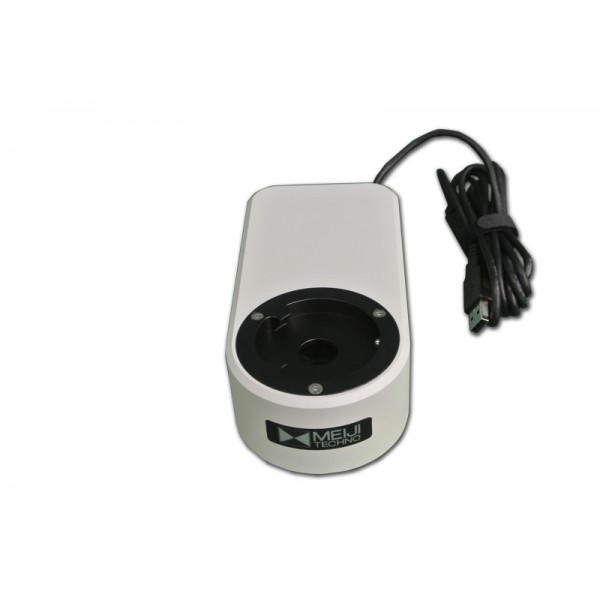
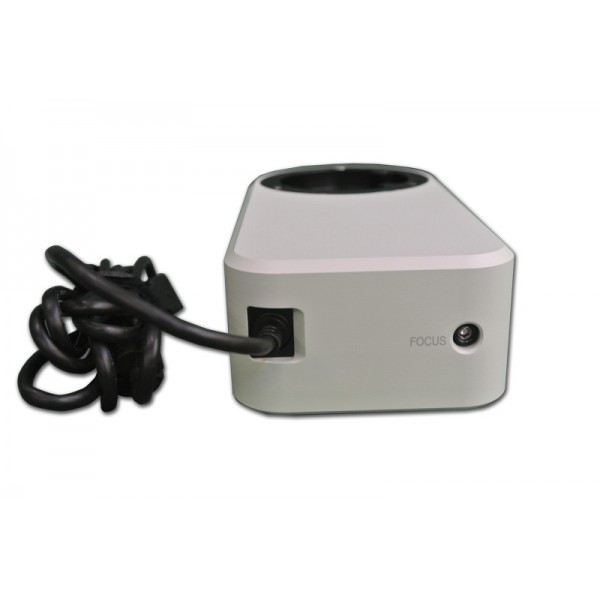
The HD-MTU4K is Meiji Techno's newest compound microscope camera that is built for our Meiji compound microscopes. It has 8.0 megapixels and has the highest resolution of 3840x2160. It has a sensor size of 1/1.8" and a pixel size of 2.0μm×2.0μm. This camera has an embedded 50:50 splitting prism that does not destroy the original optical system. Included is a built-in high power reduction lens for a large field of view. It has a rich amount of PC software function with high USB speed video transmission.


Digital Camera Assembly
Assembly with biological microscope
1. Separate eyepiece part from objective part as shown in figure 1
1) Loosen the fixing screw of the microscope.
2) Remove the eyepiece part of the microscope.
2. Assembly the Digital Camera as shown in figure 2
1) Place the Digital Camera on the top of the microscope objective.
2) Tighten the fastening screw.
3. Assemble eyepiece part of the microscope as shown in figure 3
1) Place the eyepiece part of the microscope to the female interface of the Digital Camera.
2) Tighten the fastening screw.
4. Connect the intergrated camera to the USB port of a computer, run the software and start using it. 
Disassembly the integrated camera
Reverse the assembly sequence from previous tutorial